
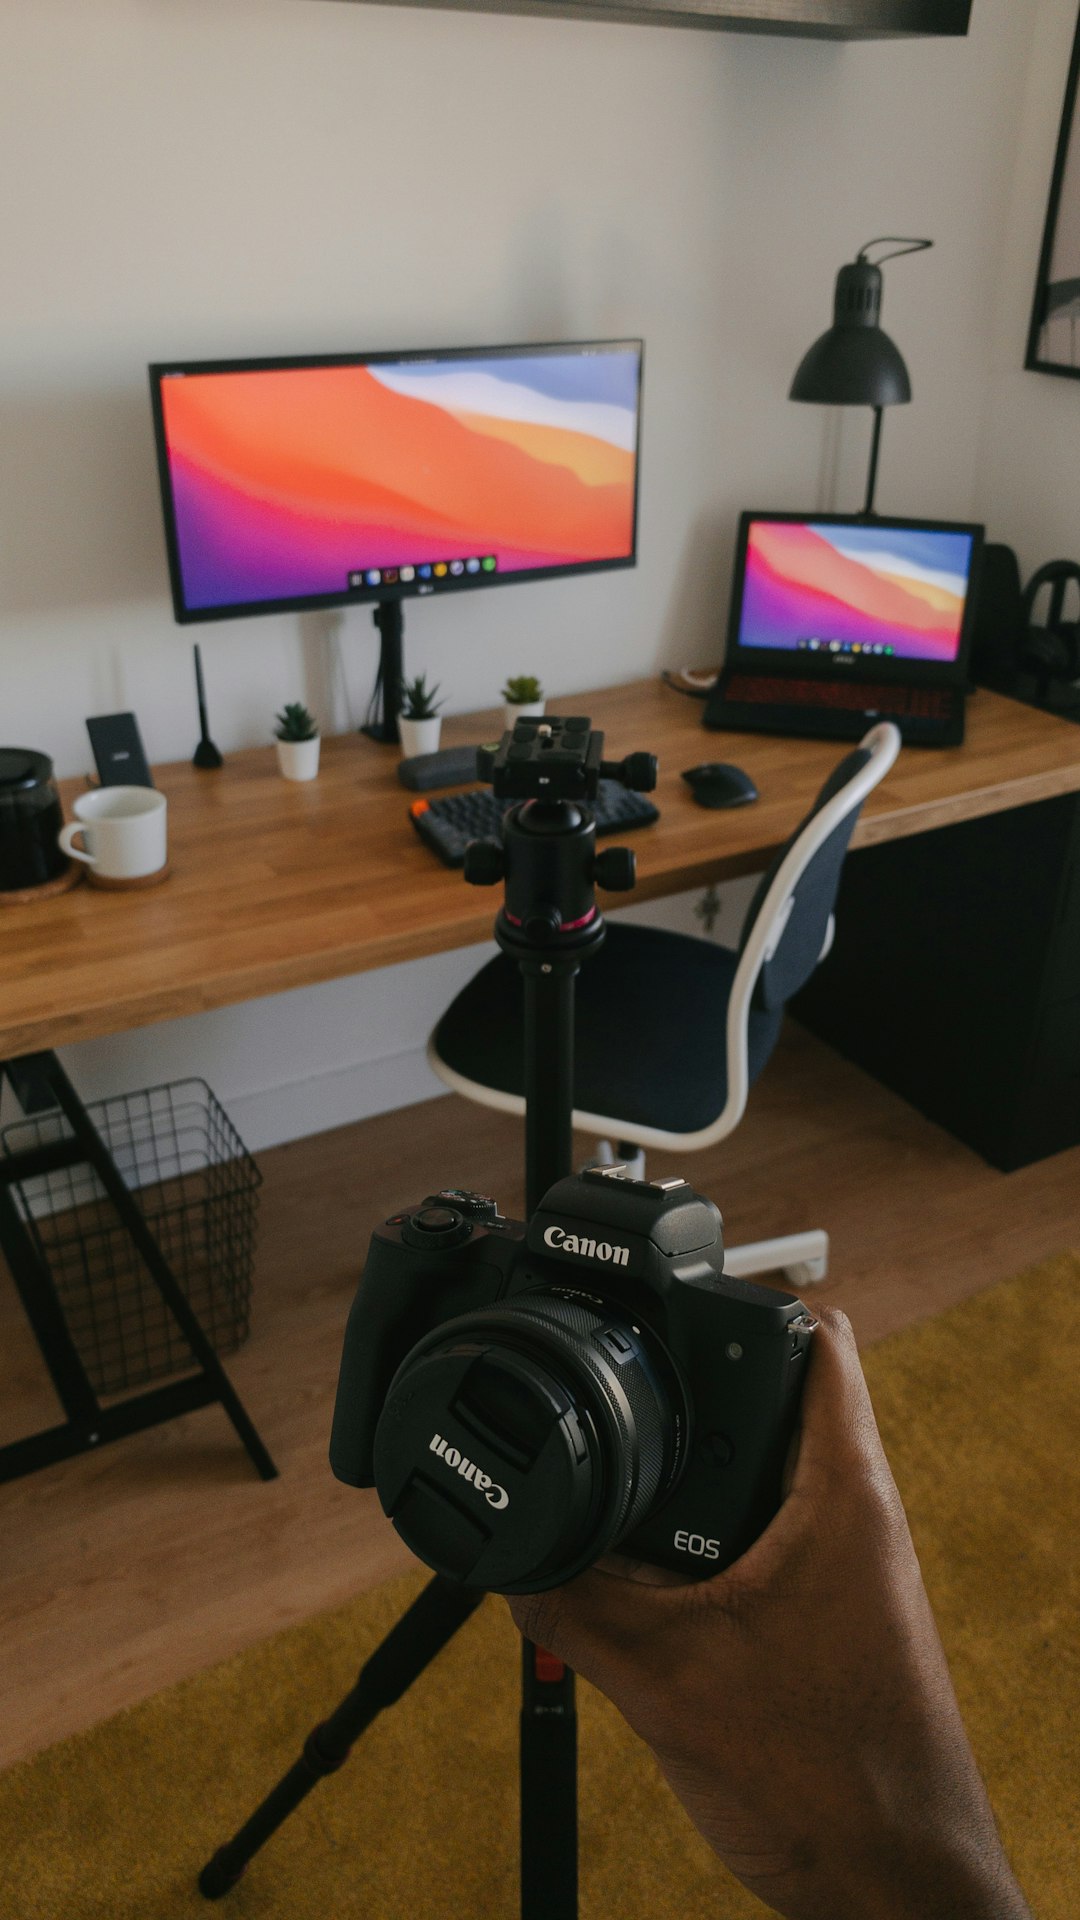
Make every shot serve the story, and your video will feel cinematic fast. You do not need a giant camera. You need clear framing, controlled light, smooth movement, rich sound, and patient editing.
TLDR: Cinematic video comes from strong choices, not expensive gear. Frame your subject with purpose, move the camera only when it adds feeling, and shape light before you hit record. For example, a creator filming a 60-second coffee ad can boost watch time by 25% just by adding warm side light, close-up shots, soft background blur, and clean sound.
1. Start With a Simple Visual Plan
Do not grab the camera and hope magic appears. That is how you get 47 boring clips of the same angle. Plan the mood first.
Ask three quick questions:
- What should the viewer feel? Calm, fear, joy, pressure, wonder?
- Who is the focus? A person, product, place, or moment?
- What changes by the end? Someone decides, discovers, wins, loses, or learns.
Cinema loves contrast. A lonely person in a huge room. A tiny hand near a giant door. A bright face in a dark street. These choices tell the viewer what matters.
Keep the idea simple. One emotion per scene is enough.
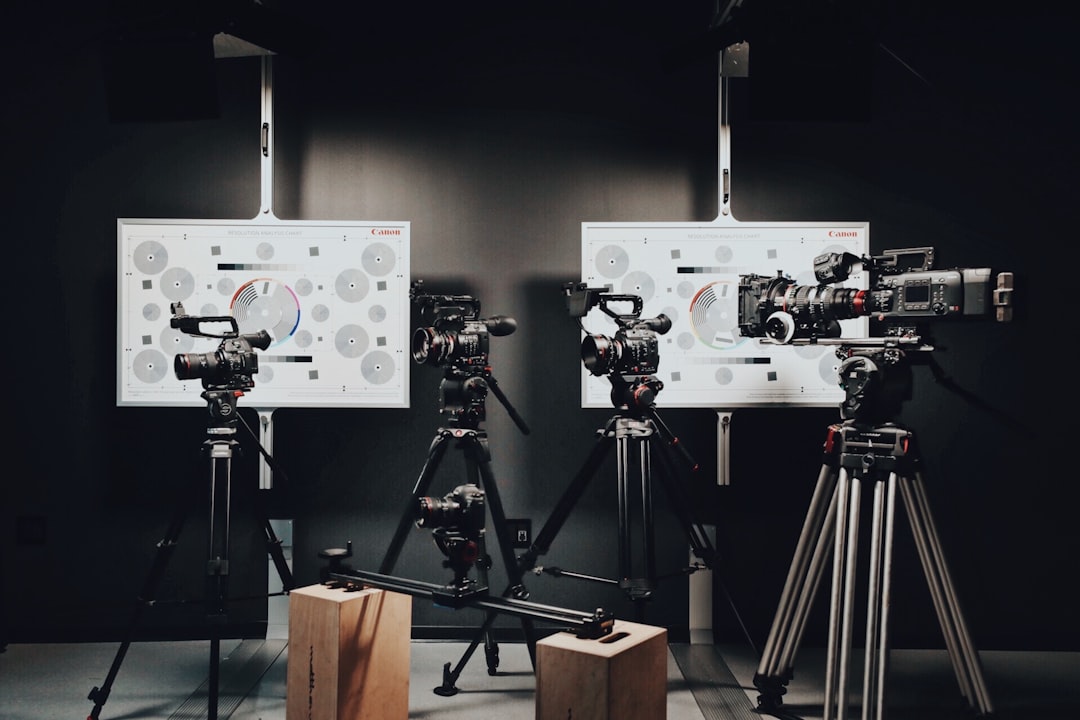
2. Use Composition Like a Story Tool
Composition means where things sit in the frame. It sounds fancy. It is not. It is just visual parking.
Use the rule of thirds. Place your subject slightly left or right, not always dead center. This often feels more natural.
Use leading lines. Roads, hallways, tables, fences, and shadows can point toward your subject. The viewer’s eye follows lines without being asked.
Use depth. Put something in the foreground, your subject in the middle, and background far behind. This makes a flat video feel layered.
Try these quick setups:
- Wide shot: Shows the world and mood.
- Medium shot: Shows body language.
- Close-up: Shows emotion and detail.
- Extreme close-up: Adds drama. Use it carefully.
Negative space also works. Leave empty room around the subject when they feel lost, small, or trapped.
3. Move the Camera With a Reason
Camera movement should not scream, “I bought a gimbal!” We have all seen that. It gets old fast.
Move only when the story needs it. A slow push-in can show focus or fear. A pull-back can reveal loneliness. A sideways tracking shot can follow action.
Common cinematic movements include:
- Push-in: Builds tension or importance.
- Pull-out: Reveals space or emotional distance.
- Pan: Turns left or right from one point.
- Tilt: Moves up or down.
- Tracking shot: Travels with the subject.
- Handheld: Adds stress, realism, or chaos.
If your shot is shaky by accident, fix it. If it is shaky on purpose, make sure we feel why.
Honestly, it feels like some editing apps hide stabilization behind three clicks more than needed. Expect to waste time on that. So shoot steady first.
4. Shape Light, Do Not Just Add Light
Lighting is where “video” starts to feel like “film.” The goal is not always brightness. The goal is shape.
Start with one main light. This is called the key light. Put it to the side, not straight in front. Side light creates shadow. Shadow creates depth.
Then decide how dark the shadows should be. Add a soft fill light if the face is too dark. Or keep the darkness if the scene needs mystery.
Use back light when you can. It separates your subject from the background. Hair, shoulders, and edges glow a little. It looks polished.
Simple lighting tips:
- Soft light flatters faces. Use a window, softbox, or white curtain.
- Hard light adds drama. Use bare bulbs, sunlight, or sharp shadows.
- Warm light feels cozy. Think lamps and sunset.
- Cool light feels lonely. Think moonlight or offices.
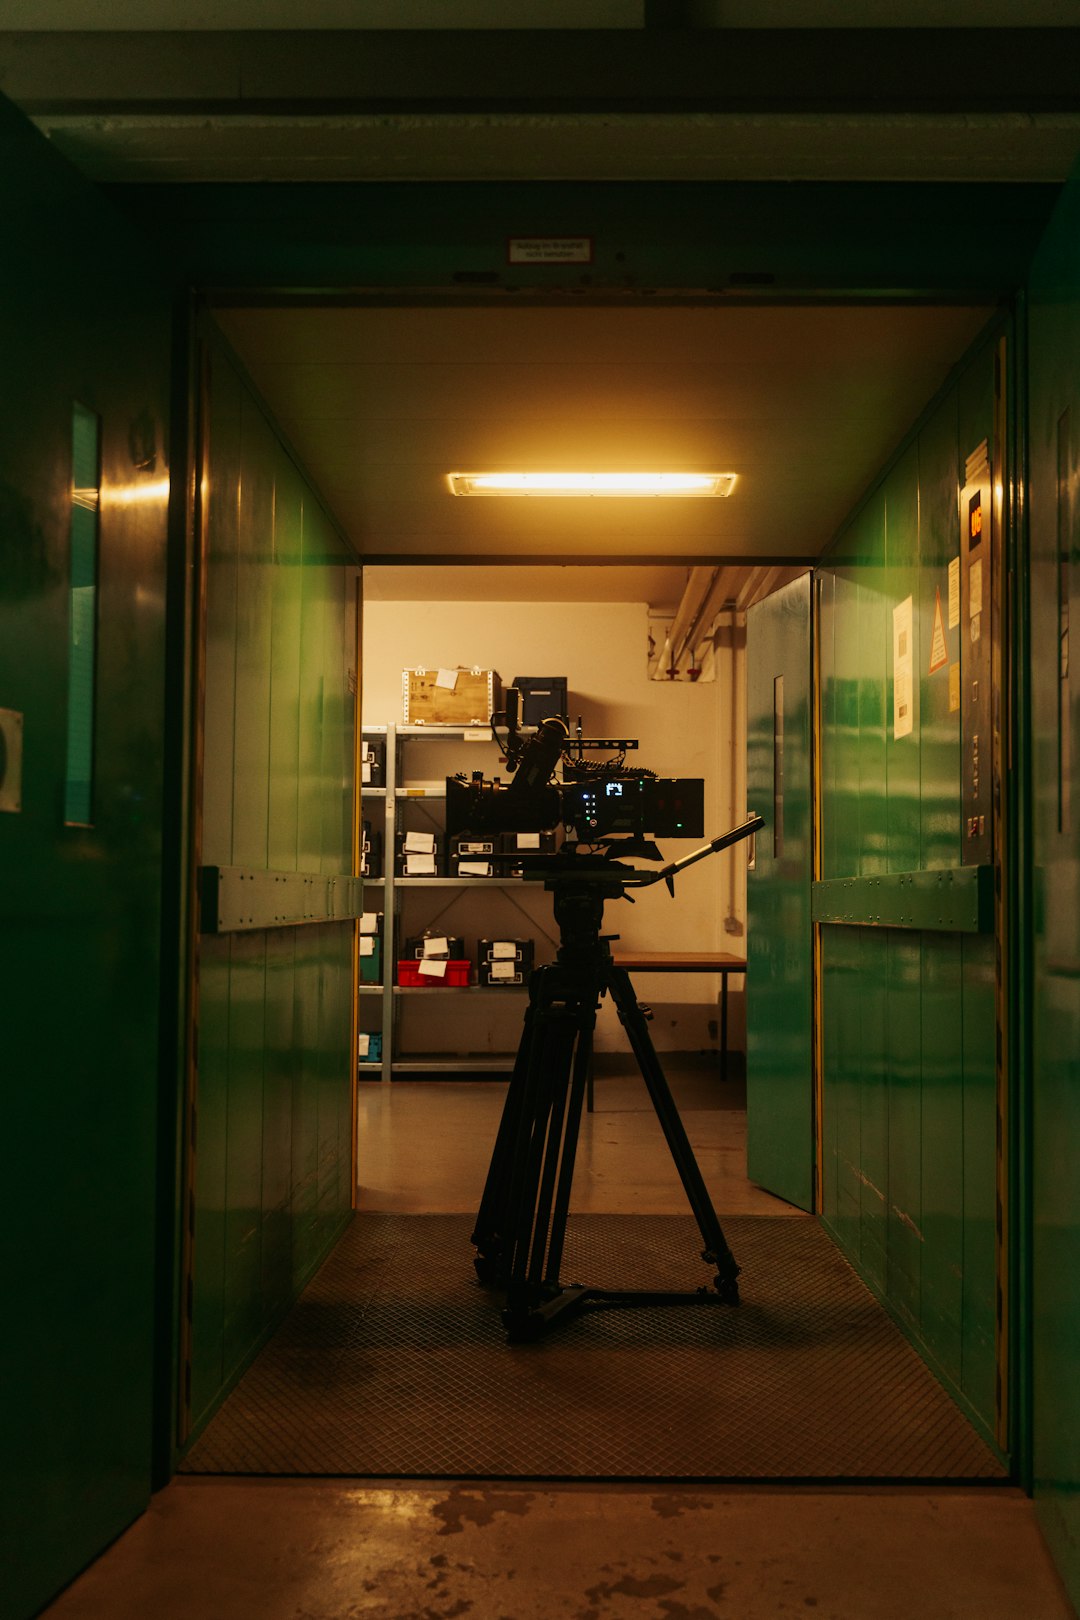
5. Pick Colors Before You Grade
Color grading should not rescue a messy image. It should polish a planned one.
Choose a color mood early. Warm orange can feel safe or romantic. Blue can feel cold or sad. Green can feel strange or sick. Red can feel danger, love, or power.
Also watch clothing and background colors. A red jacket against a gray wall will pop. A beige shirt against a beige couch will vanish. Annoying, but true.
In editing, start with color correction. Fix exposure, white balance, and contrast first. Then add the grade. Do not slap on a film preset and call it art. We can tell.
A basic grading order:
- Fix brightness.
- Fix white balance.
- Add contrast.
- Adjust skin tones.
- Add the creative look.
- Check the shot on another screen.
Keep skin natural. If your actor looks like a carrot or a ghost, pull it back.
6. Record Sound Like It Matters
Bad sound ruins good footage. It is cruel that this is true. But it is true.
Viewers forgive a slightly soft image. They do not forgive harsh voices, wind blasts, or echo that sounds like a bathroom cave.
Use a microphone close to the subject. A cheap lav mic near the chest can beat a pricey camera mic ten feet away. Distance is the enemy.
Record clean room tone too. This is 20 to 30 seconds of silence in the space. It helps smooth edits later.
Build sound in layers:
- Dialogue: Must be clear.
- Room tone: Fills empty gaps.
- Sound effects: Footsteps, doors, cloth, clicks.
- Ambience: Wind, streets, birds, crowd noise.
- Music: Supports emotion, but should not bully the scene.
Music is powerful. Use it with restraint. Silence can hit harder than a huge drum boom.
7. Edit for Rhythm, Not Just Order
Editing is not only putting clips in the right order. It is controlling breath.
Fast cuts create energy. Long takes create tension or calm. Cutting too much can feel nervous. Holding too long can feel dull. The sweet spot depends on the scene.
Start with a rough cut. Build the story first. Do not obsess over tiny trims yet. That comes later.
Then cut anything that does not help. Painful? Yes. Needed? Also yes.
Use J-cuts and L-cuts. These are simple tricks. In a J-cut, audio from the next shot starts before the image changes. In an L-cut, audio continues after the image changes. They make scenes feel smooth.
Match shots by motion. If a hand reaches in one shot, cut to the result in the next. The viewer follows the action easily.
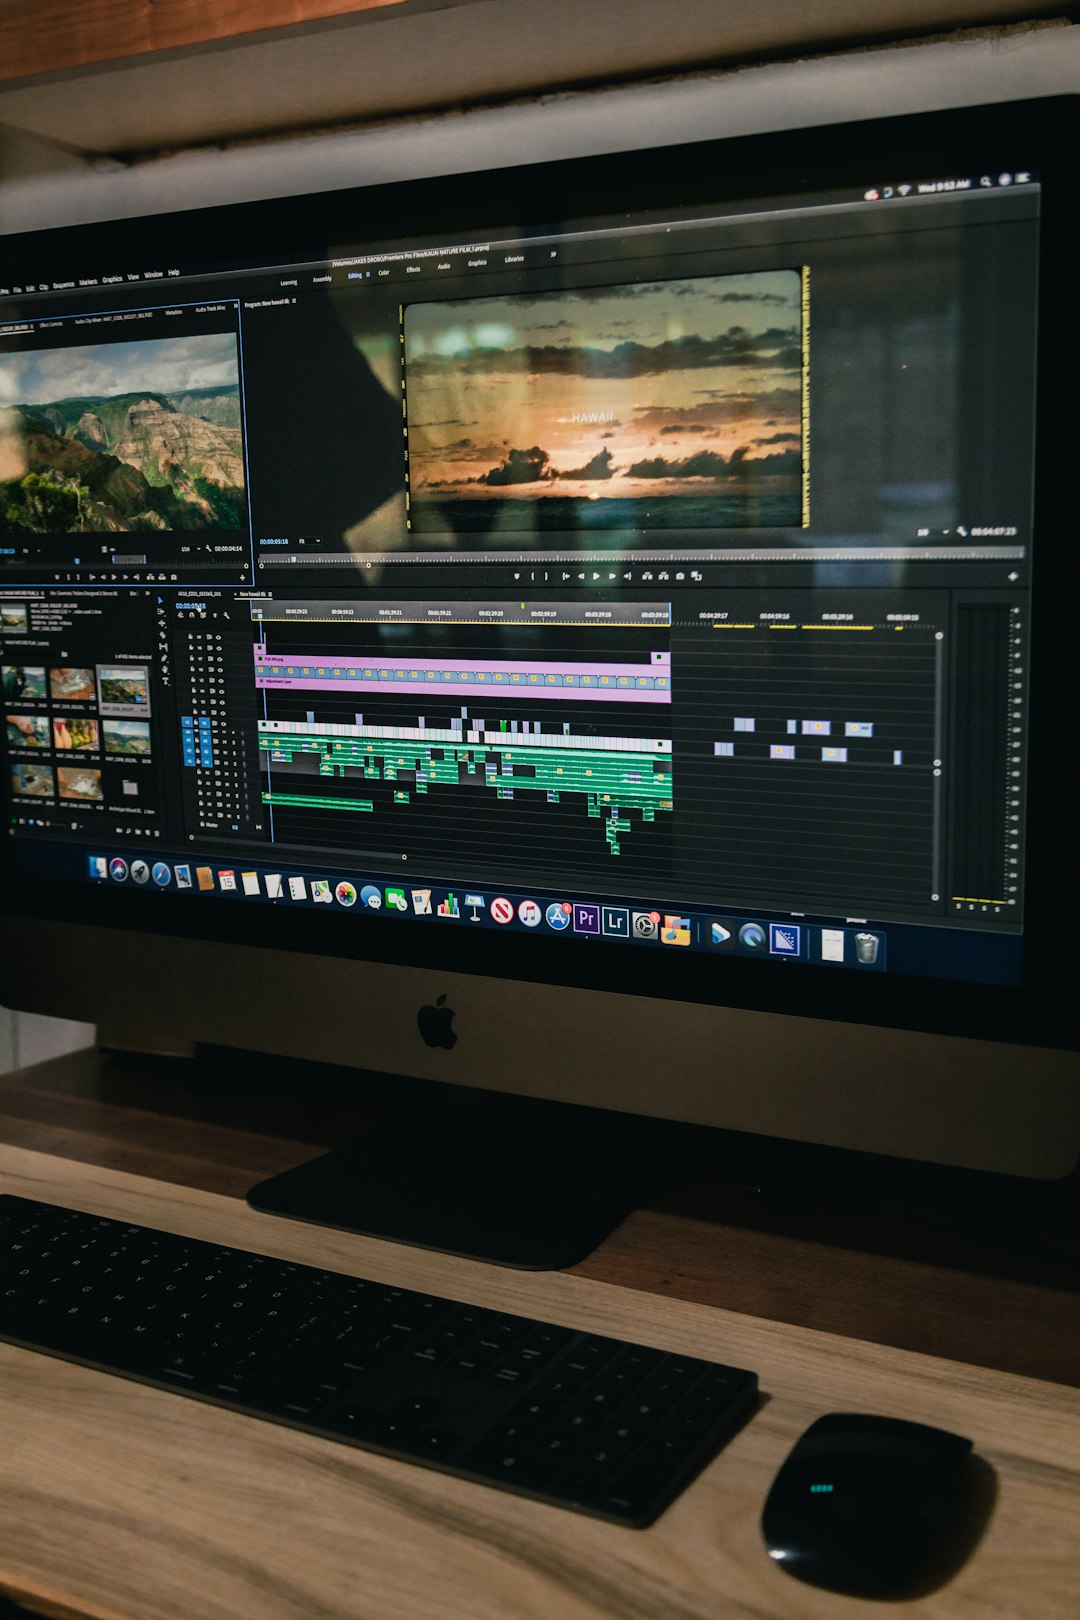
8. Add Cinematic Polish Without Overdoing It
Small details matter. But too many fake effects can make a video feel cheap.
Use shallow depth of field when it helps focus attention. Add grain if it fits the mood. Use slow motion only for moments that deserve weight.
Letterbox bars do not automatically make footage cinematic. They can help the frame feel wider. But bad lighting with black bars is still bad lighting.
Export settings also matter. For most online video, 4K or 1080p works well. Use a high enough bitrate so shadows do not turn blocky. Check the final file before posting. Every time.
Final Checklist for Cinematic Video
- Know the emotion of the scene.
- Frame the subject with purpose.
- Use depth in the shot.
- Move the camera for a reason.
- Shape light with shadows.
- Plan colors before editing.
- Record clean sound close to the source.
- Edit for rhythm and feeling.
- Keep effects subtle.
Cinematic video is not a secret club. It is a stack of simple choices. Make one strong choice at a time. Your footage will improve fast, and your viewers will feel it before they know why.