
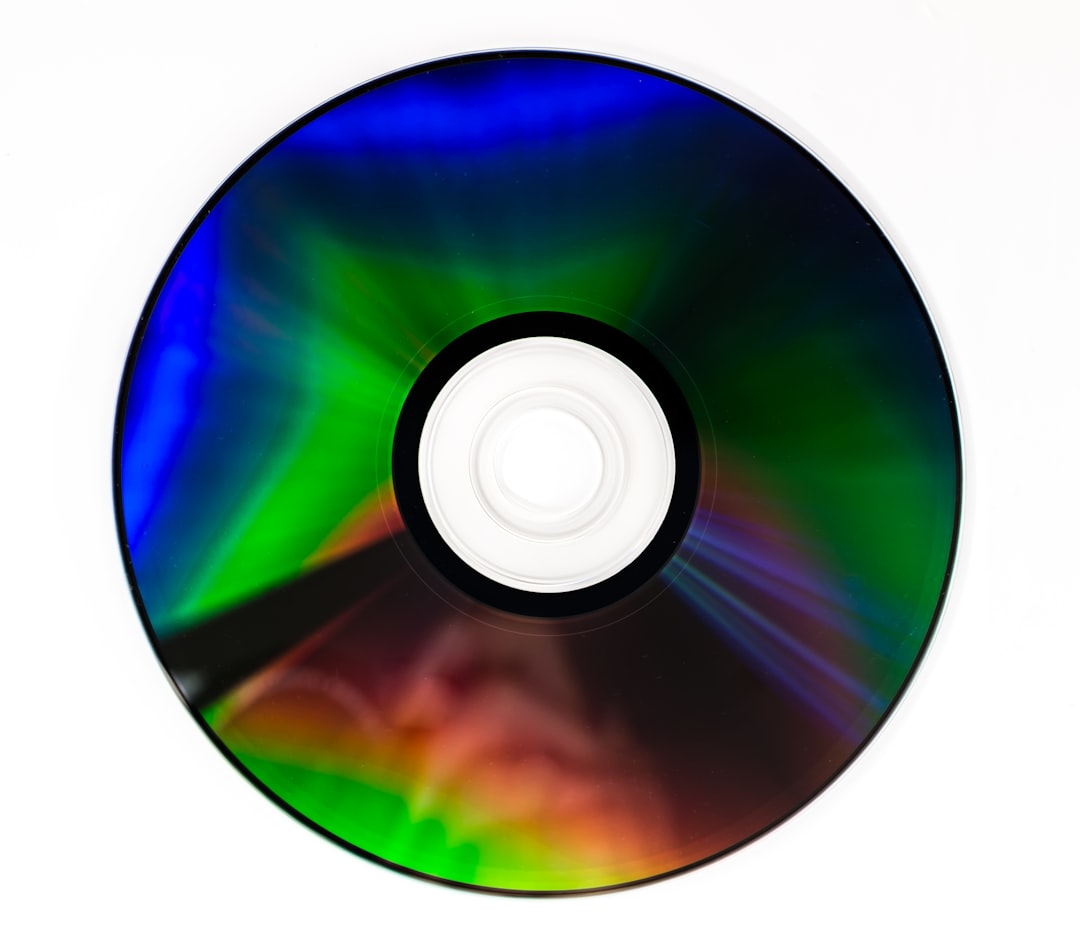
Clean discs with a soft microfiber cloth, distilled water, and straight strokes from the center hole to the outer edge. That one habit solves most playback skips without adding new scratches. CDs, DVDs, Blu-ray discs, and game discs all look tough, but their shiny surfaces can be ruined by the wrong wipe, the wrong cleaner, or one careless circular rub.
TLDR: Use distilled water first, then mild dish soap if needed, and wipe only in straight lines from the center outward. Never use paper towels, window cleaner, toothpaste, rough cloths, or circular polishing. For example, if a DVD skips at the 42-minute mark, a fingerprint near the outer third of the disc may be the issue; cleaning it correctly can fix the problem in under 3 minutes. In many cases, smudges cause playback trouble more often than deep scratches, so start gentle before trying anything aggressive.
Why Disc Cleaning Needs a Light Touch
Optical discs store data in tiny patterns read by a laser. When dust, oil, or dried residue blocks that laser, the player may stutter, freeze, or refuse to load. The annoying part is that some people make the damage worse while trying to fix it. It drives me crazy that so many “quick fixes” still recommend toothpaste or rough polishing, because those can turn one skip into a permanent problem.
The golden rule is simple: remove grime, do not grind the surface. A disc is not a kitchen plate. It does not need pressure. It needs patience, clean materials, and the right direction of wiping.
What You Need
- Clean microfiber cloth: Use one made for glasses or camera lenses.
- Distilled water: Better than tap water because it leaves fewer mineral spots.
- Mild dish soap: Useful for greasy fingerprints or sticky residue.
- Optional isopropyl alcohol: Use sparingly, around 70%, only for stubborn oily marks.
- Air blower: A rubber camera blower is safer than blowing with your mouth.
- Clean towel: For setting the disc down label side down while you work.
Avoid paper towels, napkins, toilet tissue, old T-shirts, scouring pads, and anything gritty. They can leave hairline scratches. Those tiny scratches may not seem serious, but enough of them can scatter the laser and cause read errors.
The Safe Cleaning Method
- Wash your hands first. Finger oils are one of the main reasons discs stop reading well.
- Hold the disc by the edges. Put one finger through the center hole and grip the outer rim.
- Blow off loose dust. Use a camera blower if you have one. Loose grit can scratch during wiping.
- Dampen the cloth. Use distilled water. The cloth should be damp, not dripping.
- Wipe from the center outward. Use straight strokes like spokes on a wheel.
- Repeat with a dry microfiber cloth. Dry the disc using the same center-to-edge motion.
- Let it air dry for a minute. Do not put a damp disc into a player.
Never wipe in circles. Circular scratches are more likely to follow the data track and confuse the laser. Straight scratches from the center outward are less harmful because the error correction system can often read past them.
How to Handle Sticky or Greasy Discs
Some discs need more than water. Kids’ movies, rental DVDs, and party games often collect food grease, soda residue, or mystery fingerprints. Honestly, it feels like one greasy thumbprint can waste 15 minutes of restarting, ejecting, and hoping the console changes its mind.
For grease, mix one drop of mild dish soap into a cup of distilled water. Dip a microfiber cloth into the mix, wring it out well, and wipe center to edge. Then wipe again with a cloth dampened only with distilled water. Dry with a clean microfiber cloth.
For sticky residue, do not scrape it with a fingernail. Soften the spot with a damp cloth for 20 to 30 seconds. Then wipe gently outward. If it still sticks, use a tiny amount of 70% isopropyl alcohol on the cloth, not directly on the disc. Keep alcohol away from the label side when possible, especially on older CDs.
The Label Side Matters More Than People Think
Many users worry only about the shiny side. That makes sense, since it faces the laser. But on CDs, the data layer sits closer to the label side than many people expect. A scratch through the printed label can damage the reflective layer and cause permanent data loss.
DVDs are built differently, with the data layer sandwiched between plastic layers. Blu-ray discs usually have a harder protective coating on the reading side. Still, none of them enjoy rough handling. Do not write on discs with a ballpoint pen. Use a soft-tip disc marker if you must label one.
What Not to Use
- Toothpaste: It is abrasive. It may reduce one scratch while adding many smaller ones.
- Window cleaner: Ammonia and additives can harm coatings.
- Acetone or nail polish remover: These can ruin plastic fast.
- Furniture polish: It leaves residue the laser may struggle to read through.
- Paper products: They feel soft, but many are rough at disc level.
- Hot water: Heat can warp discs.
Can Scratches Be Fixed?
Surface scratches can sometimes be reduced, but cleaning is not the same as resurfacing. If a disc has visible grime, clean it first. If it still skips, inspect it under a soft light. Fine scratches may be manageable. Deep gouges, cracks, pinholes in the label, or peeling layers are usually bad news.
Professional disc resurfacing machines shave and polish a very thin layer of plastic from the reading side. This can rescue DVDs and some game discs. It is not ideal for every format, and repeated resurfacing shortens the disc’s life. Use it only when the disc is already failing and the content is worth saving.
For rare games, out-of-print DVDs, family video discs, or old software, try copying the data after a successful cleaning. If the disc reads once, make a backup if copyright law and personal use rules in your area allow it.
Special Tips for Game Discs
Game discs can be pickier than movie discs. A movie may skip for a second and keep going. A game may crash if it cannot read one file. Console drives also load data in bursts, so one smudge can cause long installs, failed updates, or loud repeated drive noises.
Before blaming the console, inspect the disc. Fingerprints near the outer edge can affect later levels, bonus content, or installation files. Clean it gently and try again. If several discs fail, the console drive may need attention, but do not test that theory with your most valuable game first.
Storage Prevents Most Cleaning Problems
The best cleaning routine is the one you rarely need. Store discs in proper cases, not loose sleeves, drawers, backpacks, or stacked piles. Keep them away from heat, direct sun, pets, and snack zones. If you lend discs to friends, send the case too. A disc sliding around in a bag can collect scratches before it gets played once.

Quick Troubleshooting Checklist
- Disc skips at the same spot: Look for a scratch or smudge at a matching position on the disc.
- Disc will not load: Clean fingerprints near the center ring first.
- Player makes repeated clicking sounds: Stop and inspect the disc before more attempts.
- Disc looks cloudy: Try distilled water and mild soap, then dry fully.
- Only one device has trouble: The player lens or drive may be the issue.
Safe disc cleaning is mostly restraint. Use fewer chemicals. Apply less pressure. Wipe in the right direction. A microfiber cloth and distilled water may look too simple, but that is exactly why they work. Treat the disc like a lens, not a countertop, and you will fix many playback problems without creating new ones.