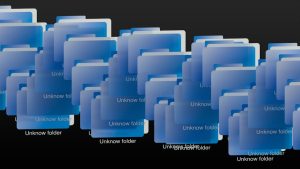
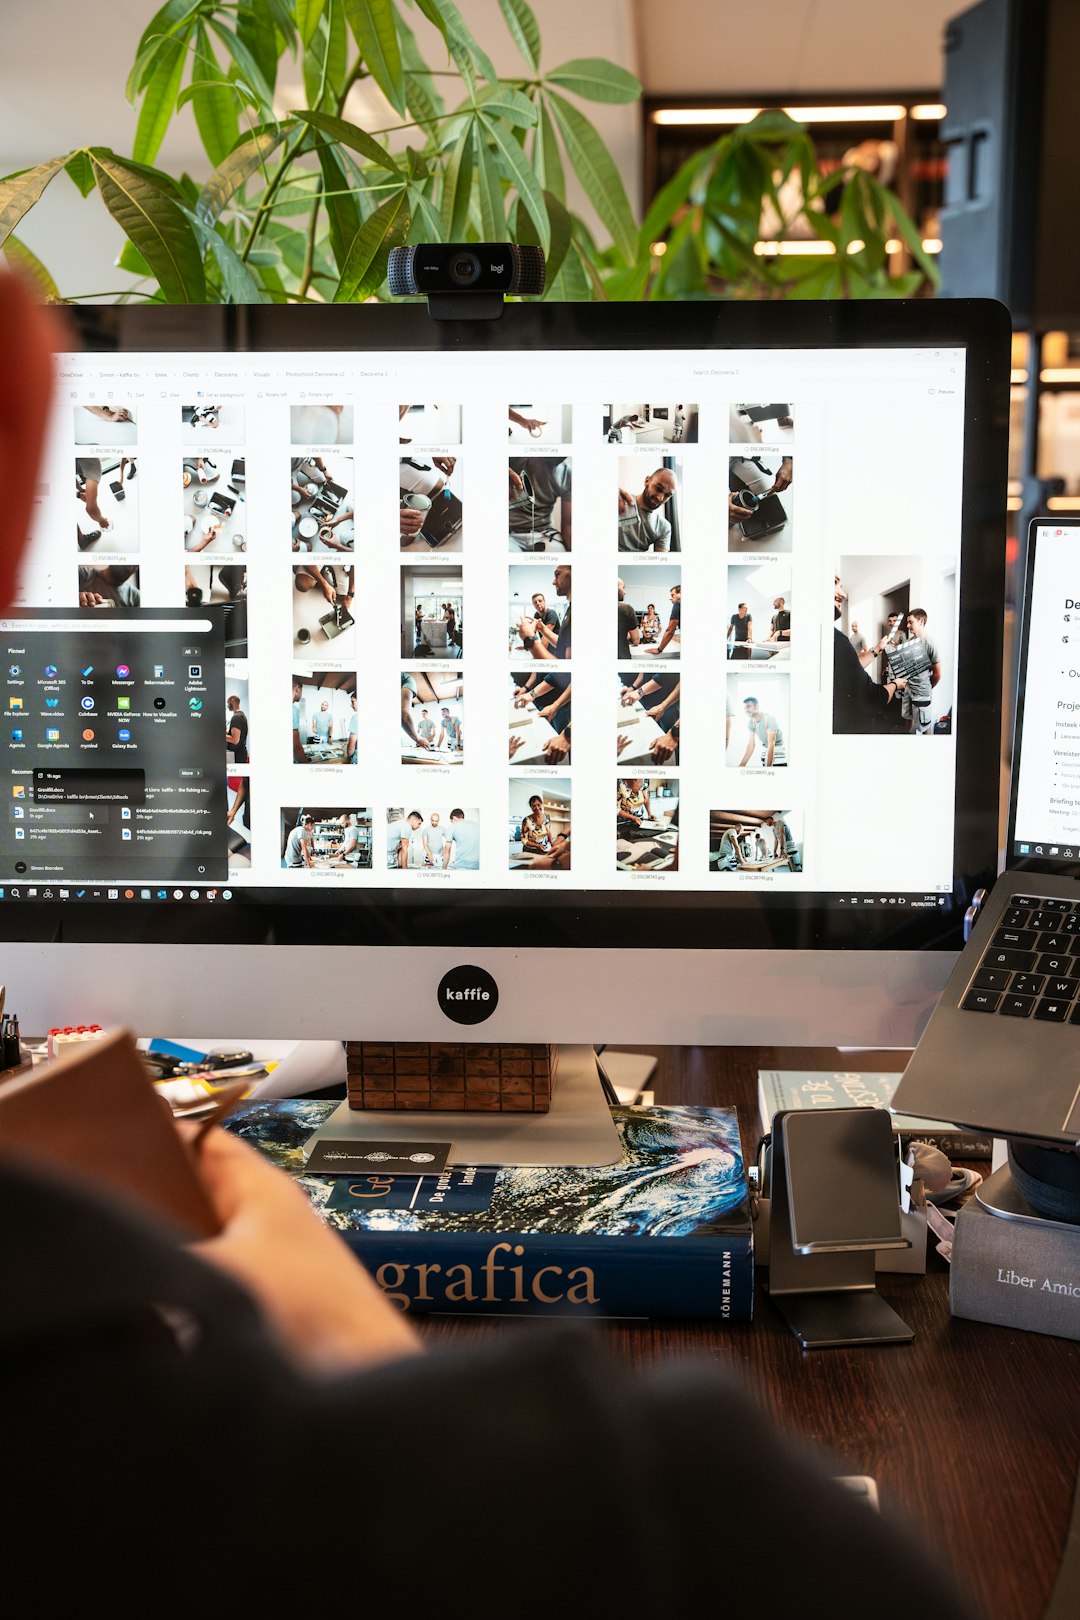
Large design projects can quickly become difficult to manage when dozens of screens, campaign variations, icons, exports, and stakeholder notes live in the same workspace. The Artboard Tool helps designers divide a single canvas into organized, export-ready sections, making complex projects easier to plan, review, and deliver.
TLDR: The Artboard Tool allows design teams to create multiple defined work areas inside one file, such as separate layouts for mobile, tablet, and desktop screens. For example, a product team designing a 36-screen onboarding flow can group screens by stage, reducing review time by an estimated 25% because stakeholders can follow the sequence visually. It improves organization, speeds up exporting, and keeps large projects structured from concept to final handoff.
What Is the Artboard Tool?
The Artboard Tool is a feature found in many design applications that allows a designer to create multiple rectangular workspaces within a single document. Each artboard acts like an independent page, frame, or canvas. Instead of opening separate files for every screen or layout, a designer can place many related designs side by side in one organized environment.
For instance, a branding project may include artboards for a logo, business card, social media post, website header, and email signature. A user interface project may include artboards for login screens, dashboards, error states, settings pages, and mobile views. This approach keeps related assets together while still giving each design its own boundaries.
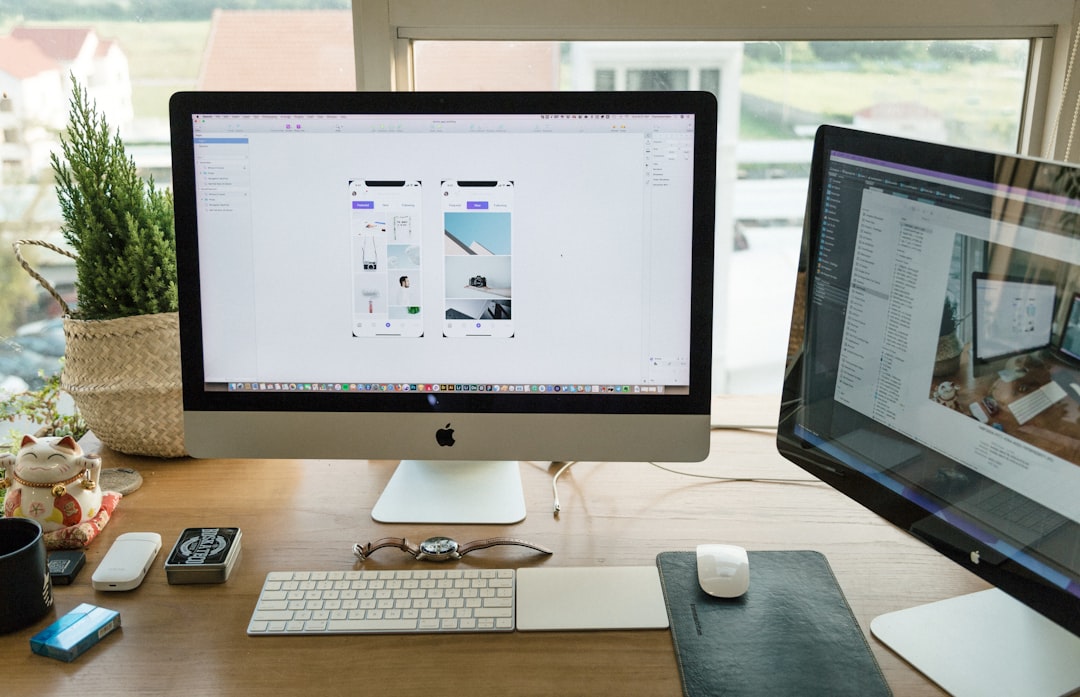
Why Artboards Matter in Large Design Projects
As projects grow, visual organization becomes just as important as visual quality. Without a clear structure, a file may turn into a crowded area of loose graphics, duplicated objects, and unclear versions. Artboards help prevent this by giving each design element a proper location and purpose.
In large projects, artboards are especially useful because they support:
- Clear separation: Each screen, layout, or concept can exist in its own defined space.
- Better comparison: Variations can be placed next to each other for faster decision-making.
- Efficient exporting: Multiple artboards can often be exported individually or in batches.
- Cleaner collaboration: Team members can comment on a specific artboard rather than searching through a crowded canvas.
- Consistent presentation: Design work appears more polished during client or internal reviews.
How the Artboard Tool Improves Project Organization
The most effective design files usually follow a system. The Artboard Tool supports this system by allowing designers to arrange work according to project stages, platforms, user journeys, or asset types.
For example, a website redesign might be divided into sections such as homepage concepts, product pages, checkout flow, and responsive layouts. A marketing campaign might use separate artboards for Instagram posts, display ads, newsletter graphics, and landing page sections. This kind of visual grouping makes it easier for teams to understand what has been completed, what needs revision, and what is ready for delivery.
Artboards also make version control more manageable. Instead of saving several files named “final,” “final revised,” and “final revised new,” a designer can keep multiple versions in the same document and label them clearly. This reduces confusion and helps teams track design decisions over time.
Best Practices for Naming and Arranging Artboards
A well-organized artboard file depends on consistent naming. Generic labels such as “Artboard 1” or “Copy 3” are not useful in a large project. Descriptive names help designers, developers, project managers, and clients understand the file structure at a glance.
Common naming methods include:
- By platform: Mobile Login, Tablet Login, Desktop Login
- By journey stage: Step 01 Welcome, Step 02 Account Setup, Step 03 Confirmation
- By asset type: Logo Primary, Logo Secondary, Social Banner, Email Header
- By status: Draft, Review, Approved, Archive
Arrangement matters as well. Artboards should be placed in a logical reading order, usually from left to right or top to bottom. When a project includes user flows, the sequence should match the experience a user would follow. When a project includes campaign assets, related sizes and formats should be grouped together.
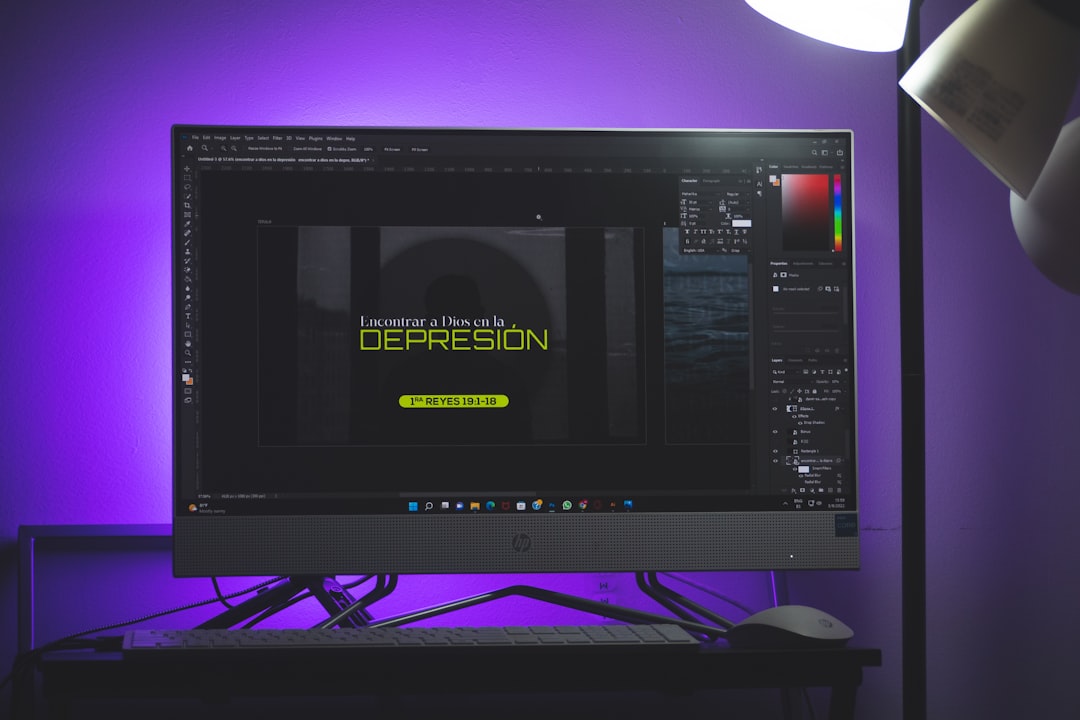
Using Artboards for Responsive Design
Responsive design is one of the strongest use cases for the Artboard Tool. Modern projects often require layouts for multiple screen sizes, including phones, tablets, laptops, and large desktop displays. Artboards allow designers to examine these layouts together and maintain consistency across breakpoints.
A designer might create four artboards for a single webpage: mobile, tablet, desktop, and widescreen. By viewing them side by side, the designer can check whether spacing, typography, image placement, and navigation remain consistent. This reduces the chance of layout problems later in development.
Artboards also make it easier to communicate responsive behavior to developers. Instead of describing how a section should change across devices, the designer can provide visible examples. This helps reduce misunderstandings and improves the quality of implementation.
Using Artboards for Collaboration and Review
In collaborative environments, artboards act as a visual map of the project. Stakeholders can review specific areas without needing to understand the entire file structure. A project manager can refer to “Checkout Step 03,” while a developer can inspect “Mobile Menu Open State.” Clear artboard labels make communication faster and more precise.
Artboards also support design critique. When alternatives are placed side by side, reviewers can compare options based on layout, hierarchy, color, and usability. This is more efficient than switching between separate files or screenshots. It also helps maintain context, since related designs remain visible in one place.
For larger teams, artboards can be divided by responsibility. One designer may work on onboarding screens, another on dashboard views, and another on marketing assets. With a shared structure, contributors can avoid overlapping work and maintain a consistent visual system.
Exporting Assets More Efficiently
One of the greatest practical advantages of artboards is export control. Since each artboard has defined boundaries, design software can often export each one as a separate file. This is helpful for presentations, prototypes, social media campaigns, app screens, and developer handoffs.
For example, a campaign with 20 ad variations can be exported as separate image files directly from their artboards. A mobile app project with 60 screens can be exported in sequence for prototyping or documentation. This saves time and reduces the risk of accidentally cropping or excluding important elements.
To improve export efficiency, designers should keep important content inside the artboard boundaries and remove unnecessary objects from export areas. They should also use consistent dimensions when multiple outputs belong to the same format.
Common Mistakes to Avoid
Although artboards are powerful, they can become messy if used without a plan. A project with hundreds of unnamed or randomly placed artboards can still be difficult to manage. The tool works best when paired with structure and discipline.
Common mistakes include:
- Leaving default names: Unclear labels slow down review and export.
- Mixing unrelated work: Combining different projects in one file creates confusion.
- Ignoring spacing: Crowded artboards make the canvas harder to navigate.
- Keeping outdated versions everywhere: Too many old concepts can distract from approved work.
- Using inconsistent sizes: Random dimensions can cause export and layout issues.
Conclusion
The Artboard Tool is more than a simple canvas feature; it is a project organization system. It helps designers manage complexity, compare ideas, present work clearly, and export assets efficiently. In large design projects, where dozens or even hundreds of deliverables may be involved, artboards create order and reduce unnecessary friction.
When artboards are named clearly, arranged logically, and used consistently, they improve the workflow for designers, developers, clients, and stakeholders. A well-structured artboard file becomes easier to review, easier to update, and easier to hand off. For any design team handling large projects, mastering the Artboard Tool is an essential step toward a faster and more reliable creative process.
FAQ
What is the main purpose of the Artboard Tool?
The main purpose of the Artboard Tool is to create multiple defined work areas inside one design file. This helps organize screens, layouts, concepts, and exportable assets.
Is the Artboard Tool useful for beginners?
Yes. Beginners can use artboards to keep projects tidy from the start. Even a simple project with a few layouts becomes easier to understand when each version has its own labeled space.
How should artboards be named?
Artboards should be named descriptively, such as Mobile Homepage, Checkout Step 02, or Instagram Story Ad. Clear names make collaboration and exporting much easier.
Can artboards help with responsive design?
Yes. Designers can create separate artboards for mobile, tablet, desktop, and other screen sizes. This allows teams to compare layouts and maintain consistency across devices.
How many artboards should a project have?
There is no fixed number. A project should have as many artboards as needed to organize the work clearly, but unnecessary duplicates and outdated versions should be removed or archived.