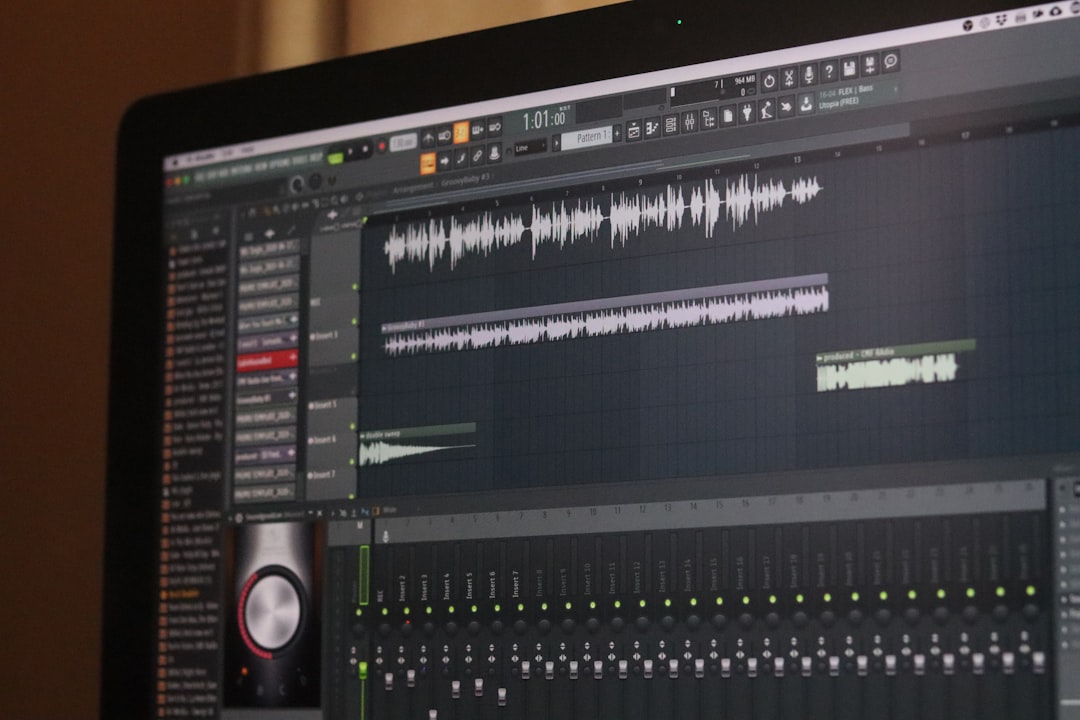
CapCut has become an essential tool for content creators, offering powerful editing features that are both intuitive and highly functional. One of the most popular features is the Auto Captions tool, which transcribes spoken words in a video to text. But what happens when this feature suddenly stops working?
If you’re facing issues like CapCut not generating auto captions, you’re not alone. Many users are puzzled when the tool fails to detect and transcribe audio. In this guide, we’ll explore the common causes behind the problem and walk you through detailed solutions to get you back on track.
TLDR
If CapCut isn’t generating auto captions, there could be a few reasons: the audio isn’t clear or in a supported language, there’s a temporary server issue, or the app needs an update. Make sure your audio contains spoken words, your app is updated, and try restarting or reinstalling the app. Also, check if you’ve accidentally silenced or muted the clip. Below you’ll find a step-by-step guide to fixing the issue.
Common Reasons Why CapCut Doesn’t Generate Auto Captions
When CapCut fails to generate auto captions, it’s usually due to one of the following reasons:
- Unsupported Language or Accent: CapCut supports automatic captioning for specific languages and may struggle with complex accents or dialects.
- Muted or Low-Volume Audio: If the video’s audio track is muted or the volume is too low, CapCut can’t detect speech for transcription.
- No Spoken Words: Auto captions are generated only when the tool detects speech. Background music or sound effects won’t be captioned.
- App Version Outdated: Older versions might lack the latest fixes or enhanced capabilities needed for effective voice detection.
- Server Connection Error: Auto captioning relies on cloud services. A weak internet connection can interrupt the process or prevent it from starting altogether.
How to Fix CapCut Auto Captions Not Working
If you’ve encountered problems with generating auto captions, follow these tried-and-tested solutions:
1. Check If Your Audio Contains Speech
This might sound basic, but CapCut can only generate captions if your video contains clear, spoken dialogue.
Ensure that:
- The audio track isn’t just music or background sounds.
- The spoken words are loud enough and not drowned out by other audio layers.
- You haven’t muted or reduced the volume to zero either in the original file or within CapCut during editing.

2. Update the CapCut App
CapCut’s auto captioning feature is cloud-based and frequently improved. If you’re using an older version of the app, it might lack the necessary dependencies to generate captions properly.
To update CapCut:
- Go to the App Store (iOS) or Google Play Store (Android).
- Search for CapCut.
- If an update is available, click Update to install the latest version.
After updating, relaunch the app and check if the issue persists.
3. Check Your Internet Connection
Since CapCut uses internet-connected AI for real-time speech recognition, a stable connection is critical. A poor or unstable connection could cause delays or complete failure in generating captions.
Try the following:
- Switch from Wi-Fi to mobile data (or vice versa) to test connection stability.
- Use a speed test tool to ensure your internet is stable enough for uploads and downloads.
- If needed, restart your router or modem.
4. Ensure Correct Language Settings
CapCut cannot transcribe speech that it doesn’t understand. Make sure the spoken language in your video matches the language setting in the auto captions menu.
To change the language:
- Select the clip you’d like to caption.
- Tap on Text > Auto Captions.
- Choose the appropriate language from the dropdown list.
Using the correct language setting can dramatically improve caption accuracy and success rate.
5. Restart or Reinstall CapCut
Sometimes, a simple restart clears temporary bugs or cache issues that might interfere with services like auto captioning.
Try these steps:
- Exit CapCut entirely and reopen it.
- If auto captioning still doesn’t work, delete and reinstall the app. Be sure to back up your projects first!
This refreshes app resources and installs the latest files, which might resolve the issue.
6. Export and Reimport the Audio
If you’re working with complex multilayered audio, CapCut might struggle to distinguish the voice elements. In such cases, exporting the audio, adjusting it externally, and reimporting can help.
Follow this method:
- Export the original video or audio-only file using another tool like Audacity or your device’s screen recorder.
- Ensure the exported file contains only the voice you want captioned.
- Import it into CapCut and use the Auto Captions function again.
7. Try Using CapCut Desktop or Web Version
If you’re facing persistent issues on the mobile version, switching platforms might offer a solution. CapCut Desktop or Web often has more robust processing power and fewer device-specific limitations.

Tips for More Accurate Auto Captions
If you’ve resolved the issue and are now able to generate captions, consider these best practices to get the most accurate transcription:
- Speak Clearly: Good diction and moderate speed help AI understand the spoken words better.
- Minimize Background Noise: Reduce music, effects, or other sounds that could interfere with voice recognition.
- Use an External Microphone: If you’re recording original video, using a mic can dramatically improve audio clarity.
What to Do If None of These Work
If you’ve gone through every method and CapCut still won’t generate auto captions, try reaching out to CapCut’s customer support or community forums. There could be:
- A temporary glitch or outage on CapCut’s servers.
- An issue specific to your device model or OS version.
- A bug in the latest CapCut update that needs to be patched.
Staying in touch with support or checking platform updates can give you a more definitive answer, especially if the issue turns out to be widespread.
Final Thoughts
The Auto Captions feature in CapCut is a game-changer for creators, helping to make content more accessible and engaging. When it stops working, the editing workflow can take a hit. Thankfully, in most cases, the solution is straightforward — from tweaking audio settings to updating the app or adjusting your internet connection. With this guide, you’re now equipped to pinpoint the issue and fix it efficiently.
Happy editing!


