With TikTok’s rapid growth and constant demand for fresh content, creators and brands are constantly seeking ways to save time and enhance their social media strategy. One of the most effective solutions is scheduling posts in advance. Whether you’re a marketer managing multiple accounts or a solo creator looking to streamline your process, learning how to schedule TikTok posts can make a big difference in effectiveness and engagement.
TL;DR
Scheduling TikTok posts is a powerful way to stay consistent, save time, and reach your audience when they’re most active. TikTok’s native web scheduler or third-party platforms like Later and Hootsuite allow creators to upload, plan, and time their content with ease. Always ensure your content abides by TikTok’s community guidelines and remember that post-scheduling is currently only available via desktop. Read on for a complete walkthrough.
Why Schedule TikTok Posts?
Before diving into the process, it’s helpful to understand why scheduling TikTok content is so beneficial:
- Improved Consistency: Posting consistently is crucial for growing and maintaining an engaged audience.
- Strategic Timing: Scheduling allows creators to target optimal posting times for better visibility and engagement.
- Efficiency: Batch producing and scheduling content can save significant amounts of time.
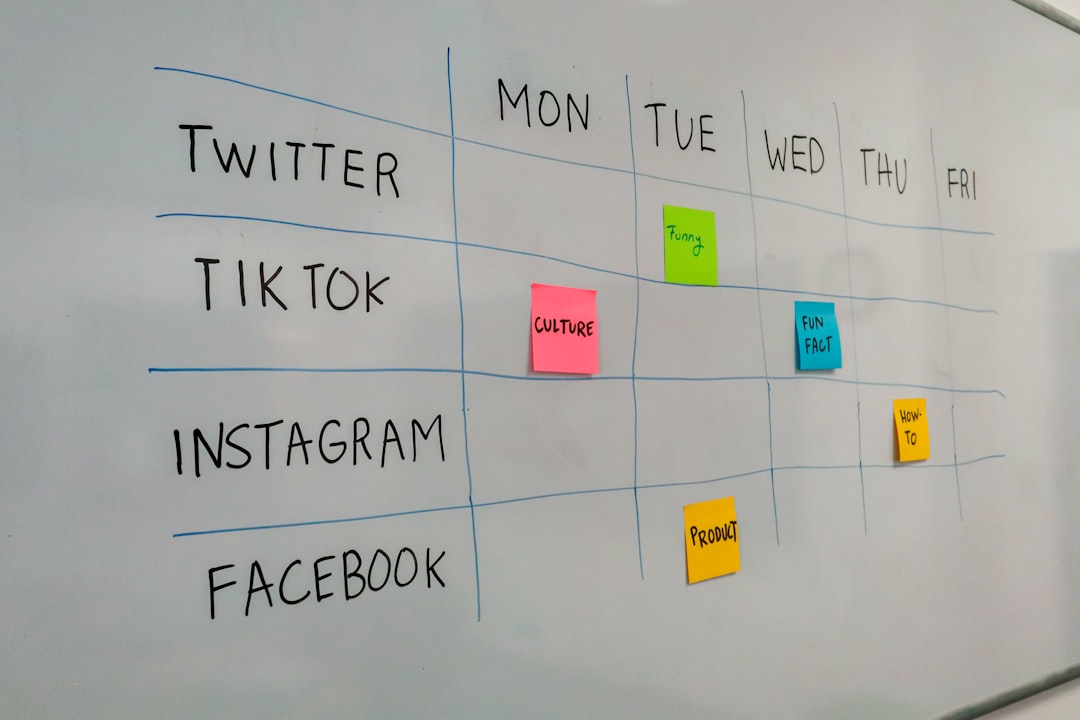
- Content Calendar Management: Planning content in advance helps maintain a cohesive brand message and campaign flow.
Step-by-Step Guide: How to Schedule TikTok Posts
1. Switch to a TikTok Business Account
To use TikTok’s scheduling feature, the first step is switching from a personal account to a Business Account. Fortunately, it’s completely free.
- Open the TikTok app and go to your profile.
- Tap the three-line menu in the top right corner and select Settings and Privacy.
- Under Manage Account, tap Switch to Business Account.
- Follow the prompts to choose a category that fits your content.
2. Log In to TikTok on Desktop
TikTok’s post scheduler is only available on desktop, so the next step is to open a web browser and go to tiktok.com/upload.
3. Upload Your Video
After logging in:
- Click on the Upload video option.
- Select the video file you want to schedule from your computer.
- Add your caption, hashtags, and any desired settings such as comments and duets.

4. Schedule the Post
After customizing your video settings, you’ll find a scheduling option underneath the caption box:
- Toggle Schedule video to on.
- Select your desired date and time using the dropdown calendar.
- Note that the scheduled time will reflect your local time zone, so plan accordingly for your target audience.
Once scheduled, your video will automatically be published at the selected time without further input from you.
5. Review Your Scheduled Posts
After you’ve scheduled a video:
- Return to your profile page on desktop.
- Click on the Video Library or Scheduled Posts tab to view the queue.
- From here, you can check the video status, make changes, or delete it if necessary.
Using Third-Party Scheduling Tools
While TikTok’s native scheduler is useful, several third-party tools offer added features and flexibility:
- Later: Offers a drag-and-drop calendar, analytics, and cross-platform scheduling.
- Hootsuite: Ideal for teams managing multiple brand profiles across platforms.
- Buffer: Known for its simplicity and clean interface, great for small teams and solo creators.
Steps to Schedule Posts Using Third-Party Tools
- Create an account on the chosen platform and connect your TikTok Business Account.
- Upload your video within the tool’s dashboard.
- Add captions, hashtags, and any additional details based on the platform’s UI.
- Select a date and time for publishing.
- Save or confirm the schedule to finalize.
Some platforms even let you view analytics on how your scheduled posts perform, allowing further optimization.
Best Practices for Scheduling TikTok Posts
- Batch Record Content: Dedicate specific days to creating videos so you have content ready to schedule weekly.
- Test Optimal Post Times: Use TikTok analytics to see when your audience is most engaged.
- Engage After Posting: Scheduling is convenient, but plan time to interact with comments post-launch.
- Stay Updated on Trends: Reserve room in your schedule for timely, trending content that can’t be planned far in advance.
Limitations of TikTok Scheduling
Though valuable, TikTok’s scheduling tool has a few limitations:
- Available only through a desktop browser, not within the mobile app.
- You cannot edit the video once it’s scheduled, only delete and re-upload.
- Restricted to Business Accounts.
- Stories and live videos cannot be scheduled.
Conclusion
Scheduling TikTok posts can be a game-changer for anyone looking to streamline their content creation process while staying active and engaged with their audience. Whether using TikTok’s desktop scheduler or leveraging a third-party platform, planning ahead allows for more strategic posting, analytical evaluation, and ultimately better results on the platform. With the step-by-step instructions provided, anyone can begin taking advantage of this creative and marketing edge today.
Frequently Asked Questions (FAQ)
- Can I schedule TikTok posts from the mobile app?
No, TikTok’s native scheduling feature is only accessible via desktop at tiktok.com/upload. - Can I edit a scheduled TikTok video?
No, once scheduled, the video cannot be edited. You would need to delete and reupload it with any changes. - Is scheduling available for personal TikTok accounts?
Currently, scheduling is only available for Business Accounts. Switching is easy and free within account settings. - How far in advance can I schedule a TikTok video?
Videos can be scheduled up to 10 days in advance through TikTok’s native scheduler. - Do third-party tools post videos to TikTok automatically?
Depending on the tool, some integrations support direct posting, while others may remind you to publish manually. Always check the tool’s functionality with TikTok’s API.