If your iPhone is stuck in recovery mode, try Finder or iTunes first using the “Update” option. It is free. It is official. It may save your data. If that fails, iPhone repair software can be the less scary middle step before a full wipe.
TLDR: Finder and iTunes are the safest first stop when an iPhone shows the cable-and-computer recovery screen. Use Update before Restore, because Restore deletes the phone. For example, Mia’s iPhone 13 froze during an iOS update; Finder failed after 22 minutes, but a standard repair tool fixed it in 18 minutes without wiping her photos. If software repair also fails, you may have a hardware issue.
What “stuck in recovery mode” actually means
Your iPhone is not being dramatic. Well, maybe a little.
Recovery mode is a safety screen. It appears when iOS cannot start correctly. You may see a cable pointing at a computer. Older screens may show the iTunes logo.
This can happen after:
- A failed iOS update.
- A bad restore.
- A drained battery during installation.
- A broken cable connection.
- Low storage during an update.
- A software crash that keeps looping.
Sometimes the fix is easy. Sometimes it feels like your phone has joined a tiny robot cult.
First move: try Finder or iTunes
If you use a Mac with macOS Catalina or newer, use Finder. If you use Windows, or an older Mac, use iTunes.
The process is almost the same. Plug in the iPhone. Open Finder or iTunes. Select the iPhone. You should see a message saying there is a problem with the device.
You get two main buttons:
- Update: Reinstalls iOS without erasing your data.
- Restore: Erases the iPhone and installs iOS fresh.
Pick Update first. Always. It is the gentler option.
The catch is that Finder and iTunes can be picky. A weak cable can ruin the process. A sleepy laptop can stop the download. A slow internet connection can turn a simple fix into a coffee refill event.
How to use Finder or iTunes recovery
Use a trusted cable. Plug into the computer directly. Avoid USB hubs for now.
- Connect the iPhone to your Mac or PC.
- Open Finder or iTunes.
- Click your iPhone when it appears.
- Choose Update.
- Wait while iOS downloads and installs.
If the download takes more than 15 minutes, your iPhone may leave recovery mode. Do not panic. Put it back into recovery mode and try again.
If Update works, great. Your iPhone should restart. Your apps and photos should still be there.
If Update fails, Finder or iTunes may show an error code. Common ones include 4013, 4014, 9, or 14. Some are software related. Some point to cable, port, storage, or hardware trouble.
When Restore becomes the nuclear button
Restore is powerful. It is also brutal.
It wipes the iPhone. Photos, messages, apps, settings, and local files vanish. You can bring them back only if you have an iCloud or computer backup.
Use Restore if:
- You already have a recent backup.
- Update fails several times.
- You do not need the data on the phone.
- You plan to sell, trade, or reset the iPhone.
Do not hit Restore in a panic. That click is small. The regret can be huge.
Where iPhone repair software fits in
iPhone repair software is made for people stuck between “Update failed” and “Please don’t erase my life.”
These tools usually offer modes like:
- Standard repair: Fixes iOS issues with little or no data loss.
- Advanced repair: Deeper fix, but often wipes data.
- Exit recovery mode: Tries to kick the phone out of the recovery screen.
- Downgrade or upgrade iOS: Changes iOS version when allowed.
Popular names include ReiBoot, Fixppo, Dr.Fone Repair, and AnyFix. They all claim to fix recovery loops, Apple logo freezes, black screens, and failed updates.
Honestly, it feels like every app says “one click.” Then you still click eight times, download a giant firmware file, and wait 12 minutes while a progress bar pretends to think. Still, a good tool can be helpful.

Finder/iTunes vs repair software
| Option | Best for | Data risk | Cost |
|---|---|---|---|
| Finder/iTunes Update | First try, simple iOS repair | Low | Free |
| Finder/iTunes Restore | Fresh reinstall, backed up phones | High | Free |
| Repair software Standard mode | Recovery loops when Update fails | Low to medium | Usually paid |
| Repair software Advanced mode | Serious system damage | High | Usually paid |
Finder and iTunes win on trust. They come from Apple. They do not ask for a license key. They do not surprise you with a paywall after scanning.
Repair tools win on extra options. Some can exit recovery mode without reinstalling iOS. Some handle firmware downloads more smoothly. Some explain errors better than Apple’s cold little number codes.
When repair software makes sense
Try a repair tool if:
- Finder or iTunes Update failed.
- You do not want to restore yet.
- The iPhone keeps returning to recovery mode.
- You see an error code that repeats.
- You need a clearer guided process.
Use Standard Repair first. Read every warning screen. If the tool says your data may be erased, believe it.
Also, use software from a known company. Download from the official site. Skip cracked versions. A “free” repair app from a sketchy forum can turn one problem into five.
When repair software is not enough
Software cannot fix everything.
Your iPhone may need real repair if:
- It was dropped hard.
- It got wet.
- The battery is swollen.
- The computer never detects it.
- Several cables and computers fail.
- Error 4013 or 4014 appears again and again.
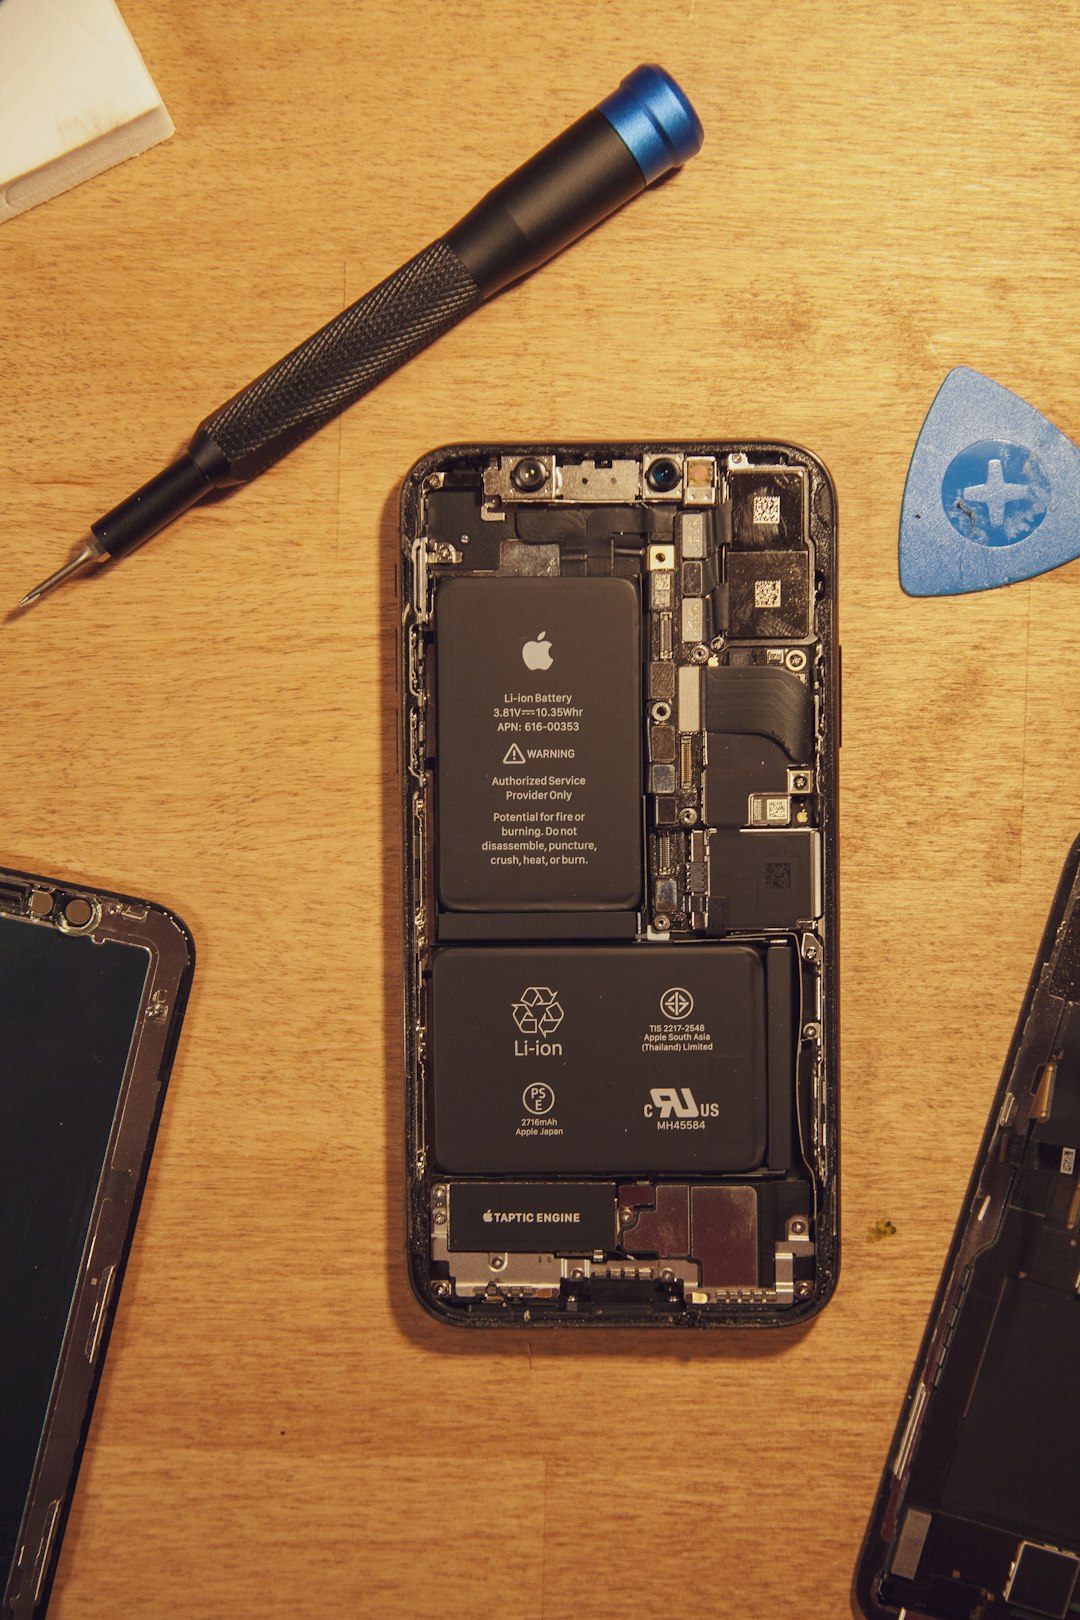
In those cases, contact Apple Support or a trusted repair shop. A broken port, bad battery, damaged logic board, or storage failure will not care how fancy your repair software looks.
Quick decision guide
Use this simple order:
- Charge the iPhone for 30 minutes. Yes, boring. Still worth it.
- Try a different cable and port. Cheap cables cause chaos.
- Use Finder or iTunes Update. This is the best first fix.
- Try repair software Standard mode. Good when Update fails.
- Restore only if needed. Make sure you accept data loss.
- Get hardware help. Do this if nothing detects the phone.
How to avoid this mess next time
A few habits can save your weekend.
- Keep at least 10 GB of free storage before iOS updates.
- Back up to iCloud or a computer before major updates.
- Use a solid cable during restores.
- Do not update on 3% battery. Your iPhone is brave, not magical.
- Keep your computer awake during the process.
The best choice is simple. Start with Finder or iTunes Update. It is free and data friendly. If it fails, try a trusted iPhone repair tool in Standard mode. Save Restore for last, unless you have a backup and nerves of steel.