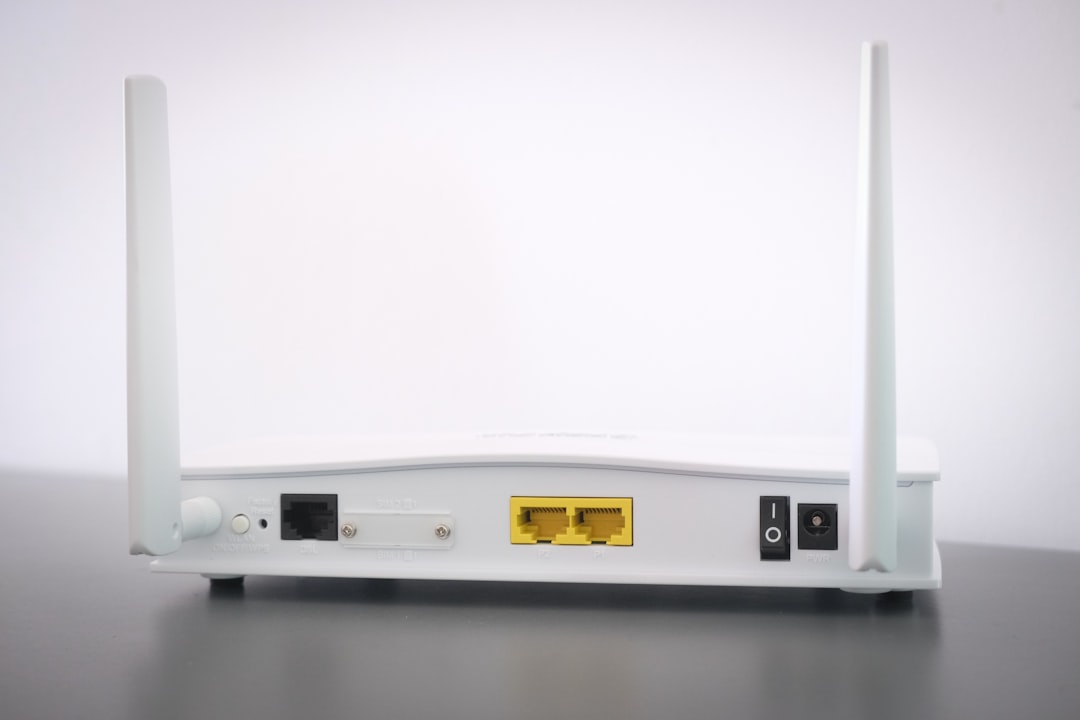
If you have an old Belkin N1 Vision router sitting in a drawer, it does not have to become electronic clutter. While it may no longer be the fastest router in the house, it can still be useful as a wireless access point, extending Wi-Fi coverage to a weak corner, garage, workshop, or upstairs room. The trick is to stop it from acting like a full router and make it behave like a bridge between your wired network and wireless devices.
TLDR: To turn a Belkin N1 Vision router into a wireless access point, connect to its admin page, give it a fixed LAN IP address that fits your main network, and disable its DHCP server. Then configure the Wi-Fi name and security settings, and connect it to your main router using a LAN port, not the WAN/Internet port. Once configured, it will broadcast Wi-Fi while your main router continues handling internet access and IP addresses.
What You Are Actually Doing
A normal home router performs several jobs at once: it connects to the internet, assigns IP addresses, manages firewall rules, and broadcasts Wi-Fi. When you convert the Belkin N1 Vision into an access point, you remove most of those responsibilities. Your main router remains in charge of routing, DHCP, and internet traffic, while the Belkin simply provides another wireless connection point.
This setup is especially useful if you already have Ethernet running to another part of the house. A wired access point usually performs much better than a wireless repeater because it does not need to use half of its wireless capacity to communicate back to the main router.
What You Need Before Starting
Before you begin, gather a few basic items and details. The process is not complicated, but having the right information makes it much smoother.
- A Belkin N1 Vision router with its power adapter.
- A computer with Ethernet or Wi-Fi access to the Belkin router.
- An Ethernet cable to connect the Belkin to your main router.
- Your main router’s IP address, such as 192.168.1.1 or 192.168.2.1.
- Your main router’s DHCP range, if available.
The Belkin N1 Vision commonly uses 192.168.2.1 as its default administration address. However, if it has been configured before, the address may be different. If necessary, you can reset it by holding the reset button for about 10 seconds, but remember that this erases all previous settings.
Step 1: Connect to the Belkin Router
Disconnect the Belkin from your main network for now. Plug your computer directly into one of the Belkin’s LAN ports using an Ethernet cable, or connect to its existing Wi-Fi network if you know the password. Then open a browser and go to:
http://192.168.2.1
If that does not work, check your computer’s network details to find the “default gateway.” That address is usually the router’s admin page. Once the Belkin interface loads, log in. Many Belkin routers shipped with no admin password by default, unless one was previously set.
Step 2: Change the Belkin’s LAN IP Address
This is the most important part of the conversion. The Belkin needs an IP address on the same network as your main router, but it must not conflict with the main router or any other device.
For example, if your main router is:
- Main router IP: 192.168.1.1
- DHCP range: 192.168.1.100 to 192.168.1.200
You could set the Belkin to:
- Belkin access point IP: 192.168.1.2
This keeps the Belkin on the same network, but outside the automatic DHCP range. That way, you can still reach its settings page later without causing an address conflict.
In the Belkin interface, look for LAN Settings or a similar section. Change the router’s IP address to your chosen fixed address. After saving, the router may reboot, and you will need to reconnect using the new address.
Tip: Write the new IP address on a label and stick it to the bottom of the router. Months from now, you will be glad you did.
Step 3: Disable DHCP on the Belkin
DHCP is the service that hands out IP addresses to devices. In a normal network, only one device should be doing this job: your main router. If both routers assign addresses, devices may receive confusing or conflicting network information.
Find the DHCP Server option in the Belkin’s LAN settings and turn it off. Save the setting. From this point on, when wireless devices connect through the Belkin, they will receive their IP addresses from the main router.
This is what makes the Belkin stop behaving like a separate router and start acting like a proper access point.
Step 4: Configure the Wireless Network
Next, set up the Wi-Fi options. You have two common choices:
- Use the same Wi-Fi name and password as your main router. This can make roaming easier because your devices may switch between access points automatically.
- Use a different Wi-Fi name. This gives you more manual control, making it obvious which access point you are connected to.
For most homes, using the same SSID and password is convenient, especially if the Belkin is located far from the main router. However, if the two access points overlap heavily, older devices may stubbornly cling to the weaker signal. In that case, separate names can make troubleshooting easier.
For security, choose WPA2 Personal if the firmware supports it. Avoid outdated options such as WEP, which is no longer secure. If the Belkin only supports weak encryption with your desired settings, it may not be suitable for sensitive use, though it could still serve basic connectivity needs for older devices.
You should also choose a sensible wireless channel. On 2.4 GHz networks, channels 1, 6, and 11 are usually recommended because they do not overlap with each other. If your main router is on channel 1, try putting the Belkin on channel 6 or 11.
Step 5: Connect the Belkin to the Main Router
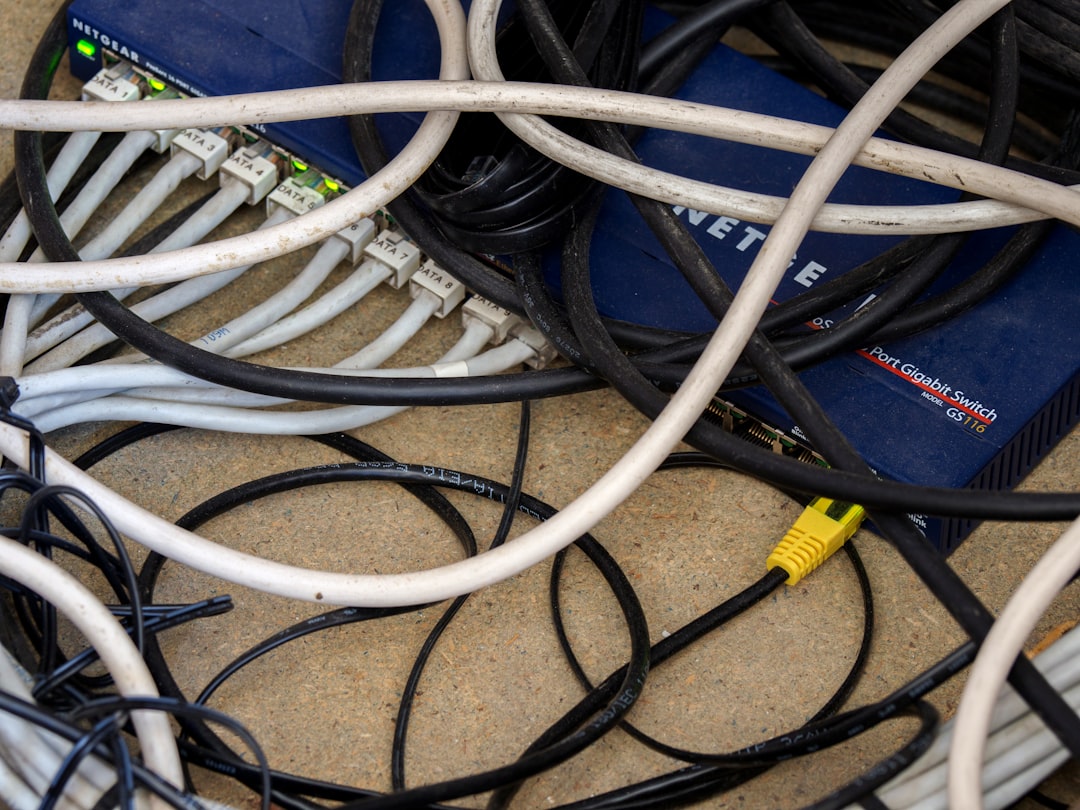
Now comes the connection that turns the configuration into a working access point. Run an Ethernet cable from a LAN port on your main router or network switch to a LAN port on the Belkin N1 Vision.
Do not use the Belkin’s WAN or Internet port. Using the WAN port can create a second network layer, causing double NAT, discovery problems, printer issues, and general confusion. LAN-to-LAN is the key.
Once connected, restart the Belkin. Then connect a phone or laptop to its Wi-Fi and check whether you can browse the internet. If everything is correct, your device should receive an IP address from the main router and behave as if it were connected directly to the primary network.
Troubleshooting Common Problems
If the access point does not work immediately, do not panic. Most issues come from one of a few simple mistakes.
- Cannot reach the Belkin settings page: Make sure you are using its new LAN IP address, not the old default one.
- No internet through the Belkin Wi-Fi: Confirm that DHCP is disabled on the Belkin and that the Ethernet cable is connected LAN-to-LAN.
- IP address conflict warning: The Belkin may be using the same IP address as another device. Choose a different static IP outside the DHCP range.
- Weak performance: Try a different Wi-Fi channel, place the router higher, and keep it away from thick walls, microwaves, and cordless phone bases.
Is the Belkin N1 Vision Still Worth Using?
The Belkin N1 Vision is an older 802.11n-era router, so it will not compete with modern Wi-Fi 6 or Wi-Fi 7 equipment. Still, it can be a practical access point for light browsing, smart home devices, guest coverage, or areas where top speed is not essential.
Its distinctive display and stylish design also make it more interesting than many plain plastic routers. As long as you understand its limits and use strong security settings where available, it can still play a useful role in a home network.
Final Thoughts
Turning a Belkin N1 Vision router into a wireless access point is a smart way to reuse old hardware and improve Wi-Fi coverage without buying new equipment. The essential steps are simple: assign it a fixed LAN IP address, disable DHCP, configure Wi-Fi, and connect it to your main router using a LAN port. Once it is set up, the Belkin becomes a quiet extension of your existing network, giving forgotten hardware a second life and your devices a stronger signal where they need it most.